

Apple held the “Unleashed” Mac event last month, which included the reveal of the redesigned MacBook Pro 2021. This latest Mac — which runs macOS 12 Monterey — is a mighty beast, capable of doing intensive processes. So if you’re a video editor, this laptop will be able to keep up with your tasks and more. One of the most popular video editing software on Apple devices is iMovie. This free app from Apple can be used across iPhone, iPad, and Mac. If you’re unsure how to use it on macOS, here’s the ultimate guide.
How to use iMovie on macOS
Downloading and installing

First things first — to use iMovie, you have to download it first. It usually comes pre-installed on Macs, but if you’ve deleted it or can’t find it for whichever reason, follow the steps below:
- Launch the Mac App Store from Launcher, Spotlight Search, or the Apple logo menu.
- Click on the Search field in the top left corner.
- Type iMovie.
- Hit the Return key.
- Select the iMovie app in the search result.
- Click on the download button and wait for it to finish.
Alternatively, you can:
- Tap this link on your Mac.
- Click on the download button and wait for it to finish.
Once it’s installed, launch it from Launcher, Spotlight Search, or by clicking Open in its App Store page.
The very basics
When you launch iMovie for the very first time:

- Allow iMovie to access your photo library.
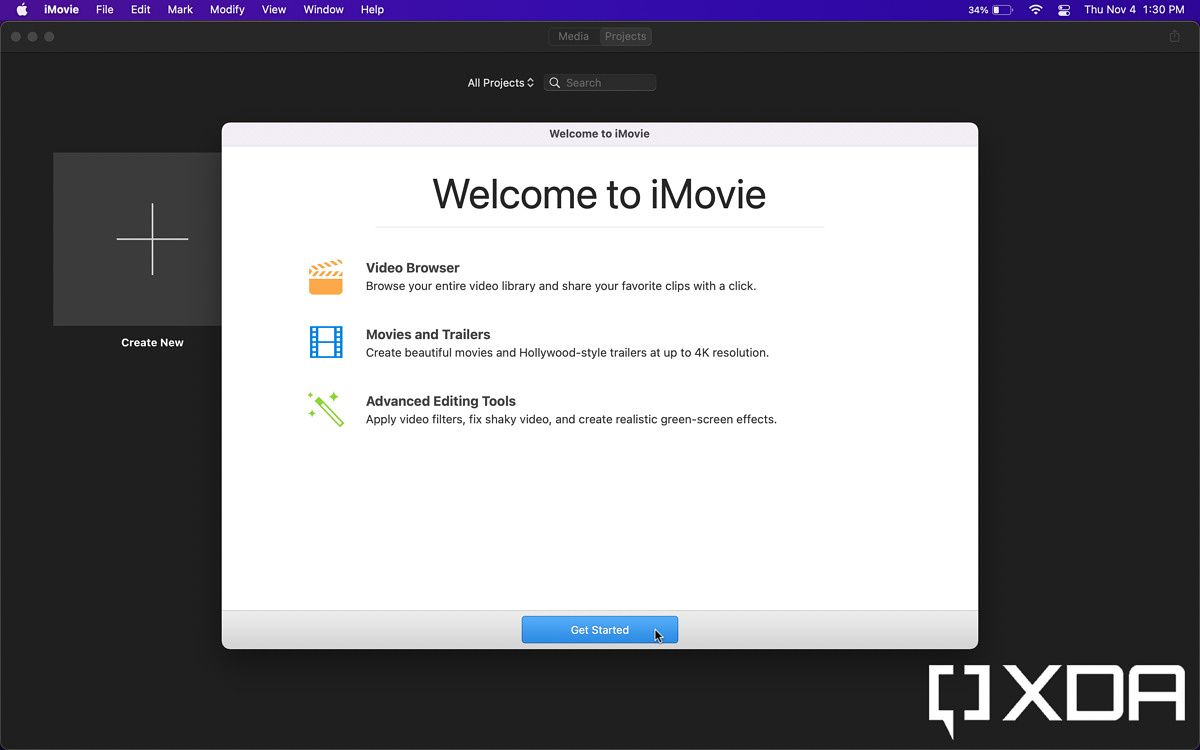

- Go through the welcome screens.

- Hit on iMovie in the menubar, followed by Preferences.

- Adjust the settings if the defaults don’t match your needs, then exit them.
- On the main screen you will find two main sections — Media and Projects.

- In Media you will be able to view your photo and video library stored in the Photos app.
- As for Projects, that’s where our focus will be. It’s where the magic begins.
Trailers
Trailers, as the name suggests, allow you to create a Hollywood-style movie trailer with your videos. Apple provides you with over two dozen templates for various genres to pick from.

- In the Projects section, click on Create New.
- Choose Trailer.

- Click on a template with a genre that matches the vibe you’re aiming at. Under each template you will also find a timestamp of how long it is, and you can click on it to watch a preview.
- Once you’ve decided, click on Create in the bottom right corner, and you will be taken to the editor.
- In the bottom half of the screen, you will find the Outline, Storyboard, and Shot List.

- The Outline section allows you to fill in the text information that will be displayed on your trailer, such as its name, director, date, and more.

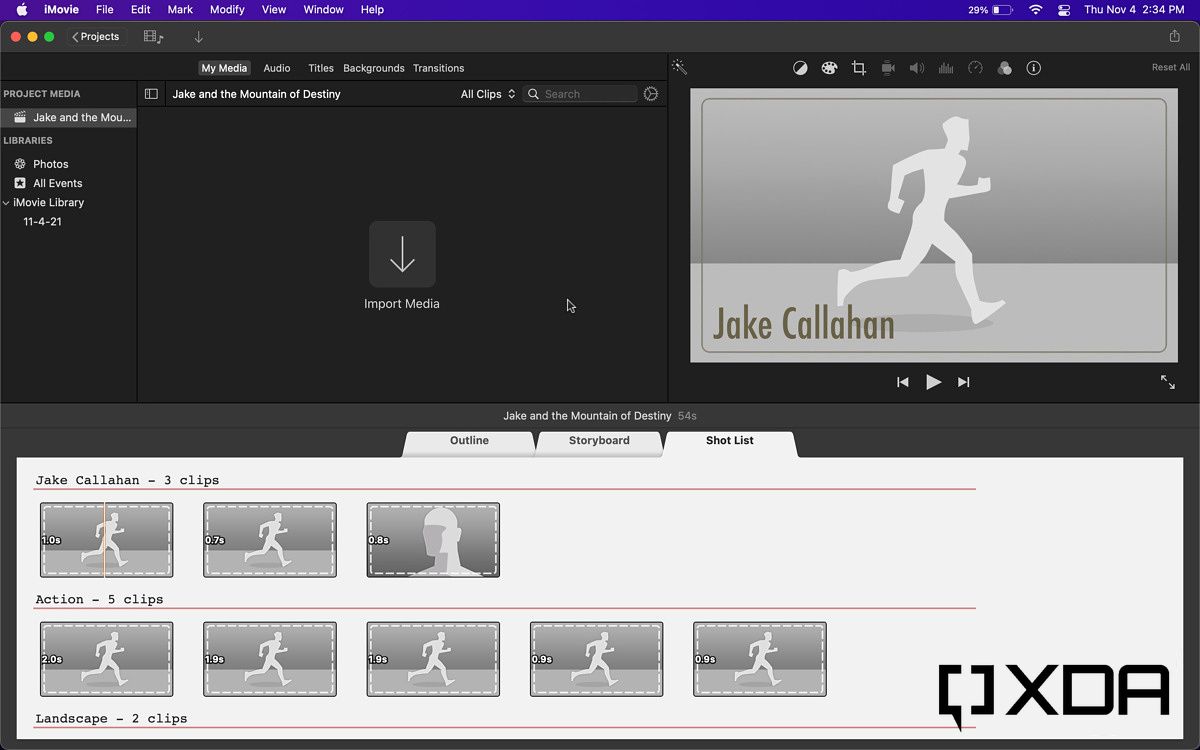
- In Storyboard and Shot List you get to control the photos and videos you add to your project.
- In the top bar you will find My Media — where we’re currently working — in addition to other sections.

- The Audio section allows you to import music or use Apple’s sound effects. However, trailers come with background music already — it’s only there for additional audio customizations.

- In the Titles section you can choose the style of your trailer’s title.

- Under Backgrounds, you get to choose the main background for your project.

- Transitions let you decide how the animation looks when one video ends and another starts playing.
- In My Media click on Photos in the sidebar.
- Enter the Videos folder to import a clip to the project.


- Once you have a video in mind, drag it to the Project Media section in the sidebar to import it.

- From the Storyboard you get to pick a segment from the video you’ve imported to apply it to a certain part of the trailer.

- Then you can move on to the next section of the trailer. Fill them all in, and always remember you can import more videos from your photo library to use.

- Continue to customize the trailer using the tools we’ve covered here.

- Once you’re ready to export your project, hit on the Projects button in the top left corner.

- Give your project a name and press OK.

- From the Projects screen you can then export your trailer and share it with other apps or services.
Movies

- To create a movie project, choose Movie after clicking Create New in the Projects screen.

- You will find a layout similar to that of the Trailer editor, particularly the upper left corner of the screen.

- Import videos from your photo library, similar to the way it’s done for trailers, and drop them in the bottom section.

- Keep on adding all of the videos you want to include in your movie.
- In the top right corner you will find a toolbar.

- The first two options are Color Balance and Color Corrections, which let you tweak the colors in your video.

- Cropping is the third option, which lets you crop and rotate your video as you see fit.

- Stabilization is the fourth option which lets you stabilize shaky footages.

- The fifth option is Volume, which allows you to mute or lower the volume of the original video added to your movie.

- Then comes Noise Reeducation and Equalizer, which helps reduce background noise.

- After that, there’s speed, which allows you to slow-mo a video, make it faster, freeze a frame, reverse, and more.

- The following options is for color and audio filters, with dozens to choose from.

- And finally there’s the Clip Information button that displays its name and date.
- In the Audio section of the left top bar, you can add music to your movie if you want to replace or combine with the original soundtrack.

- Just drag and drop from Apple’s Sound Effects library, or import your own audio.
- There you can see the audio track right below the video footage, so you can move the audio around in reference to the events happening in your video.

- In the Title section of the left top bar, you can drag a title of your choice to the video footage in the bottom half of the screen and control its font, color, size, and more.

- The Backgrounds section of the left top bar allows you to add cool animations and backgrounds to your movie, such as a world map where you hope from one location to another. This would be perfect if your movie is shot in different cities and you want to visualize your traveling route.

- And finally, in Transitions, similar to that in Trailers, you get to choose the animation when one video footage ends and another starts.
- Once you’ve finalized editing your movie, click on the Projects button in the top left corner, similar to that in Trailers.

- Give your movie a name and click OK.

- You can then export it to another app or service from the Projects menu.
That’s everything you need to know about iMovie and utilizing it to create a video project. Whether you’re documenting your travels for social media, working on something as a school assignment, or just curious about stitching footages together and adding soundtracks to their backgrounds for fun, the possibilities are endless.
iMovie is both simple and complex at the same time — it’s easy to learn and make the most of, but it also can help you build something solid and of a professional quality. Now we obviously can’t compare it to Final Cut Pro — which costs $299 — but it’s still a very powerful tool for people who don’t want to spend a buck. It’s a great way to test the waters of video editing, and if you feel the need to have more options and customizations, then you can consider buying Apple’s Pro tool.
iMovie works across iPhone, iPad, and Mac, so you can save projects on iCloud Drive and pick them up on other Apple devices. You can also use AirDrop if you’re working on large projects on a limited or slow data plan. For example, an iPad’s touch screen can make dragging and dropping items easier, but your Mac can handle more intensive tasks and projects.
This handy app is actively getting updated by Apple, so the latest camera technologies are being supported in real-time. Just last month Apple added Cinematic Mode support after the release of the iPhone 13 lineup. So make sure to update it whenever an upgrade is available to take advantage of the latest features.
Personally I love the Trailers builder — even though I’m in no way a video editor — because it can create suspenseful short clips of humorous moments I shoot in my daily life. Sharing them with friends is hilarious, and they’re kept securely on iCloud so I can look back at them in the future and giggle at their ridiculousness.
Apple includes plenty of genres to choose from, so you can use a thriller themed template for something suspenseful or a documentary one for a more serious footage of nature, for example. Again, the possibilities are endless, and it’s up to you to be creative and come up with original ideas. Apple has provided you with the canvas and brushes; bring your paint and dig right in!
What are you using iMovie for? Let us know in the comments section below.
The post The ultimate guide to iMovie for Mac: Everything you need to know appeared first on xda-developers.
from xda-developers https://ift.tt/3civhtL
via IFTTT
Aucun commentaire:
Enregistrer un commentaire